
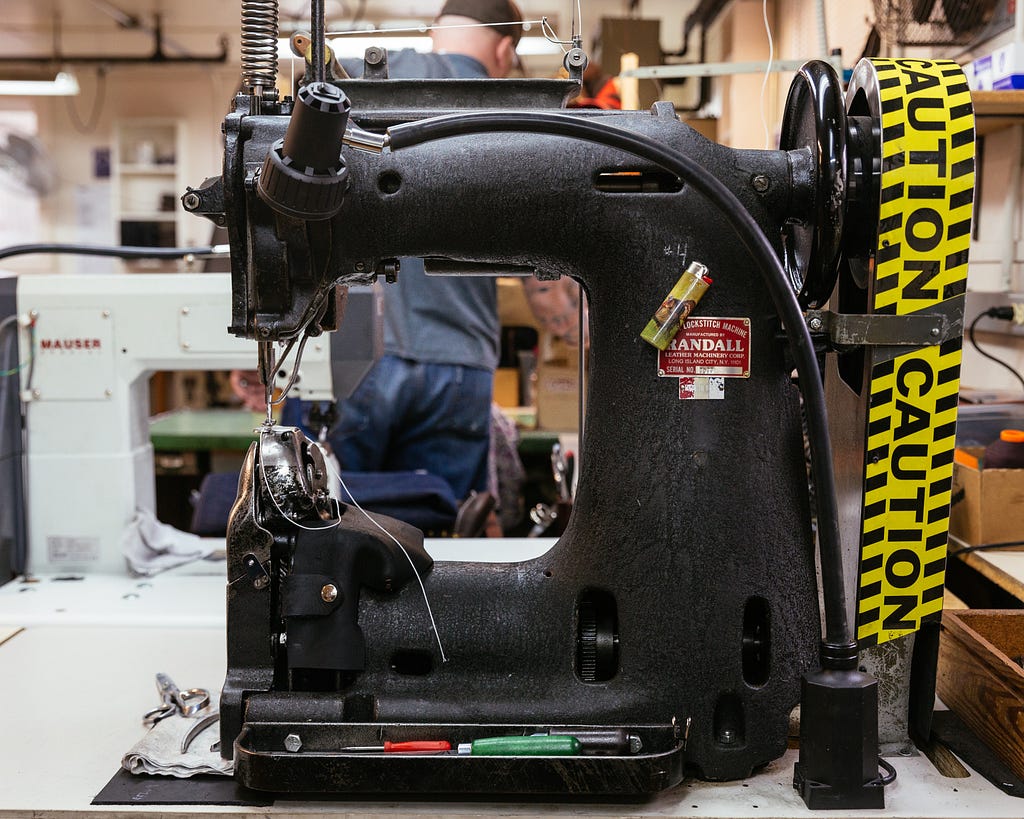
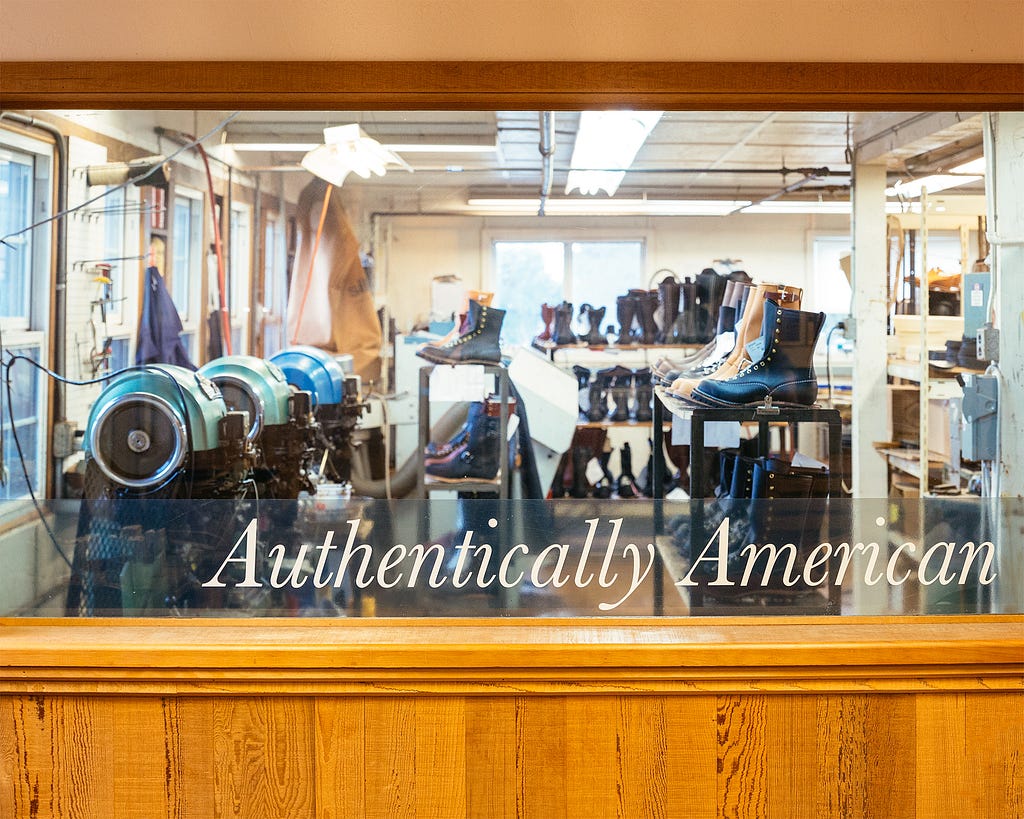
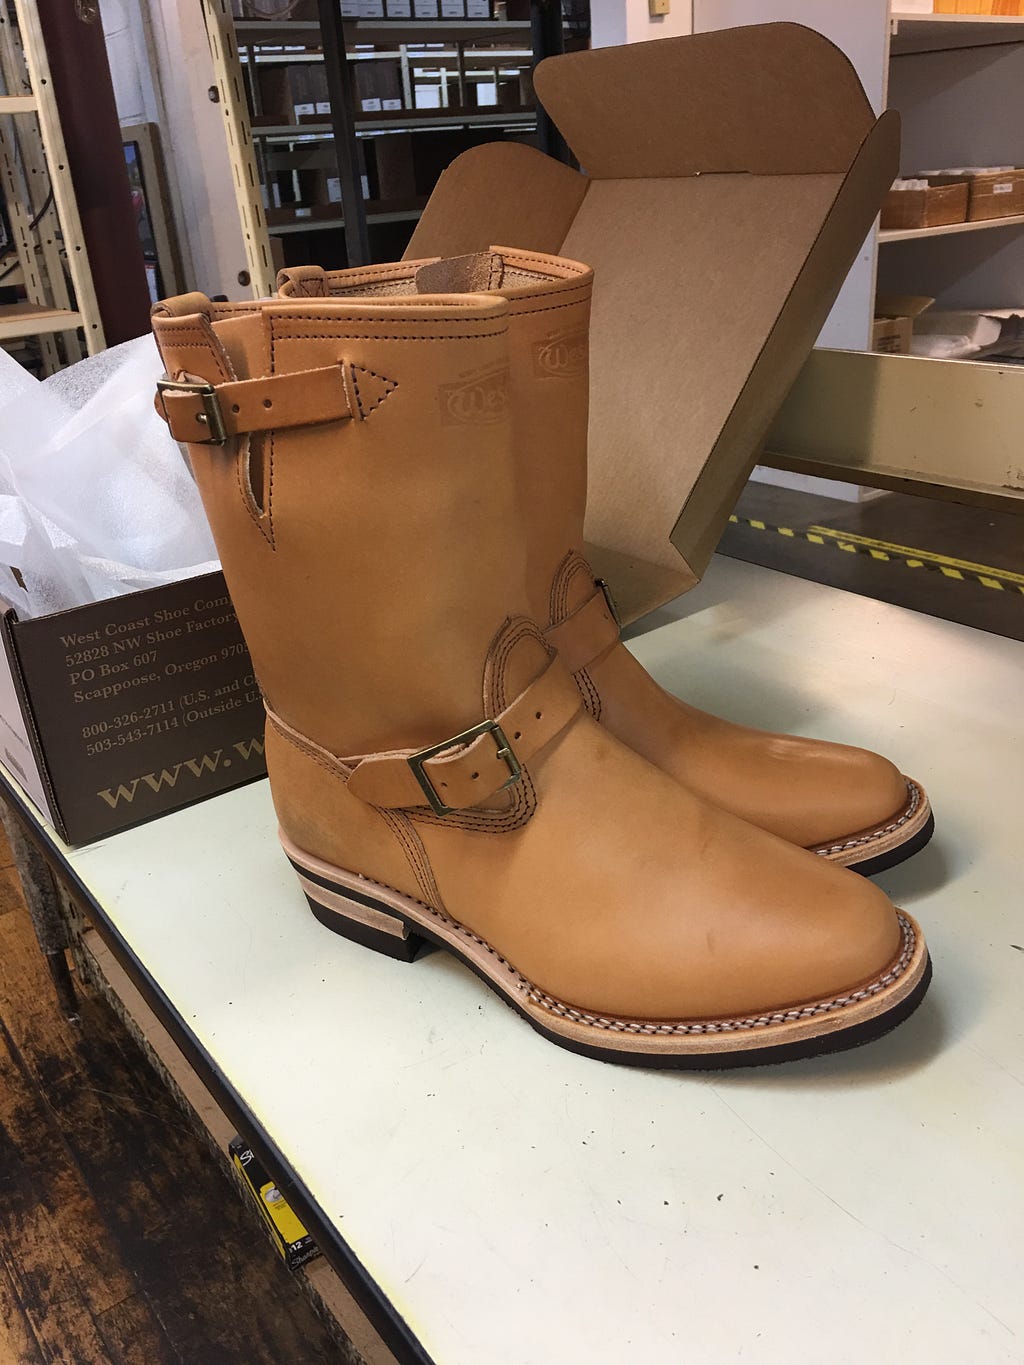
Neil recently took a trip up to the Wesco® factory in Scappoose, Oregon to watch our next batch of the Van Cleef engineer boots go down the line. We’ve been a Wesco dealer for some time now, and wanted to pay them a visit to learn more about how boots get made.
The journey from leather to boot starts out with the clicker — a giant press that cuts out each piece of leather from the hide. Every part of the upper portion of the boot needs a corresponding die; each size of every boot needs a die the right size.
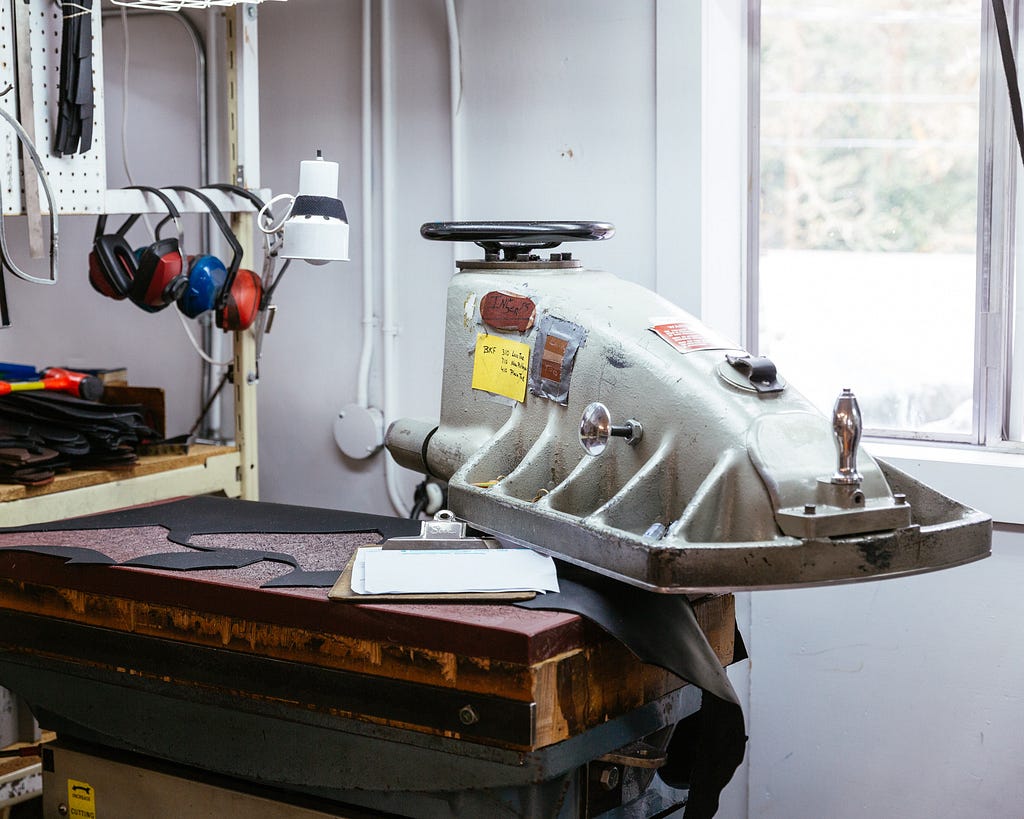
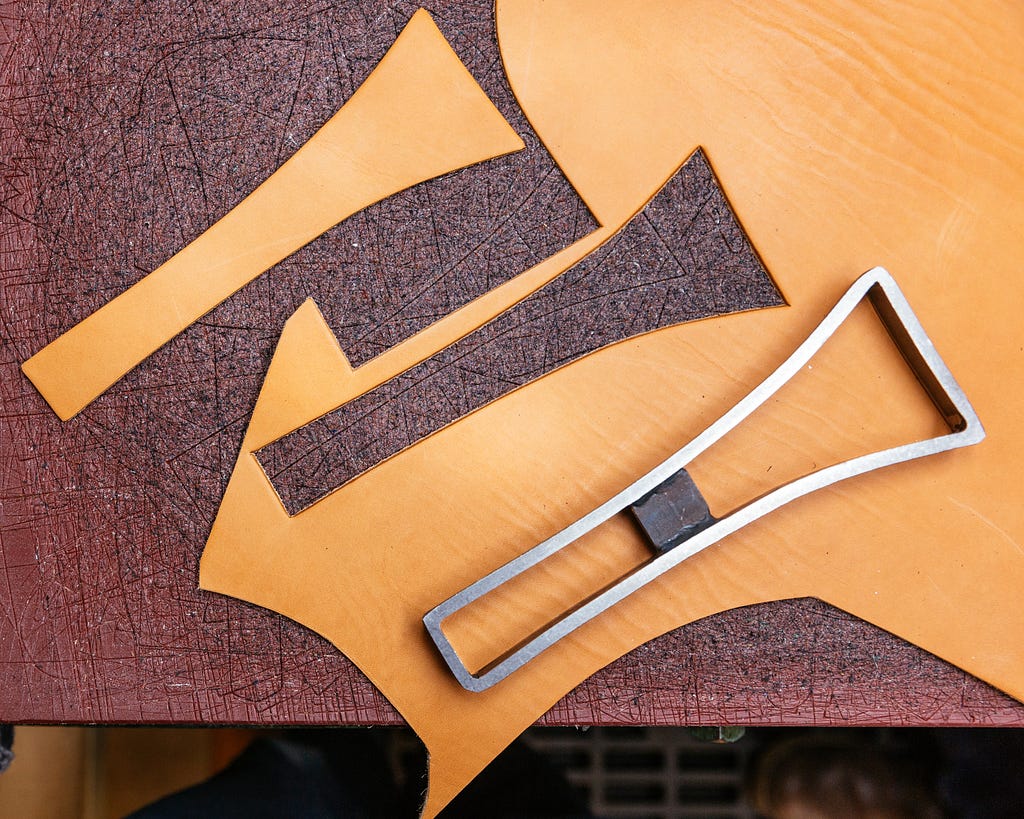
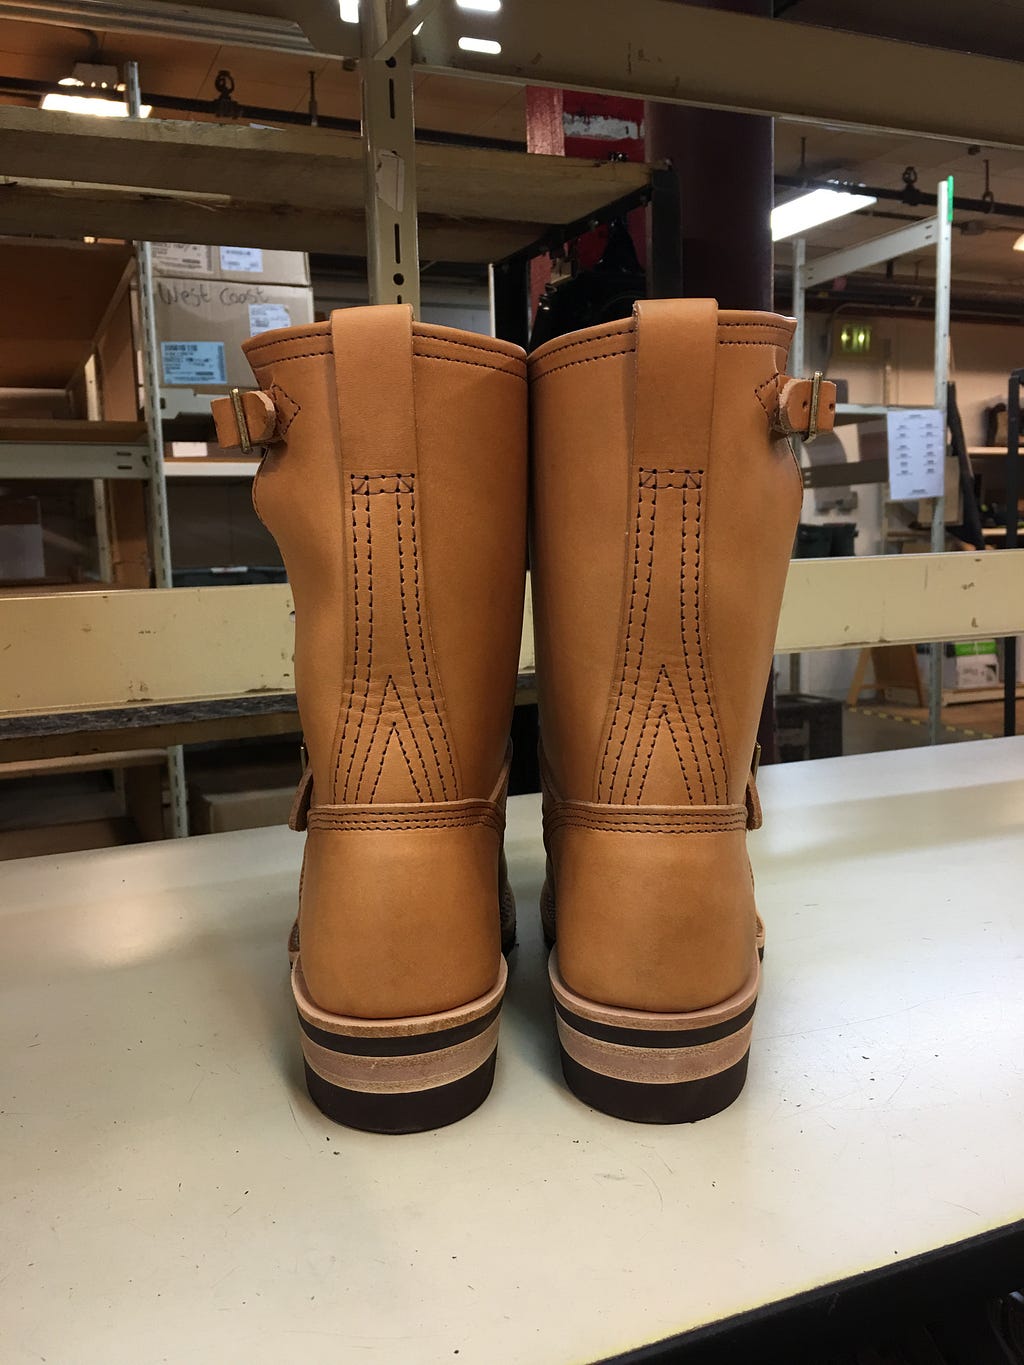
Below, you can see the backstay, the hide it was cut from, and the die laid out. (The backstay is the piece of leather that goes vertically up the back of an engineer boot. Once the leather is cut, the pieces are fitted and sewn.
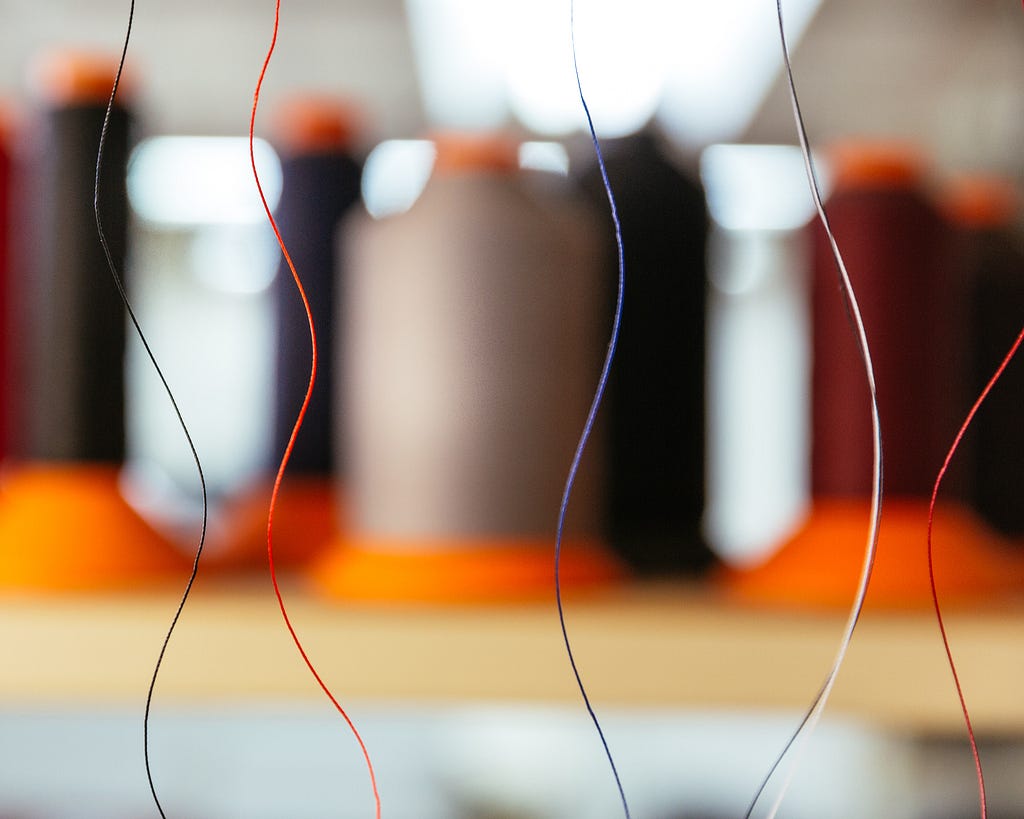
Wesco® offers nearly infinite combinations of leathers, thread colors, and soles allowing the perfect boot to made for every customer.
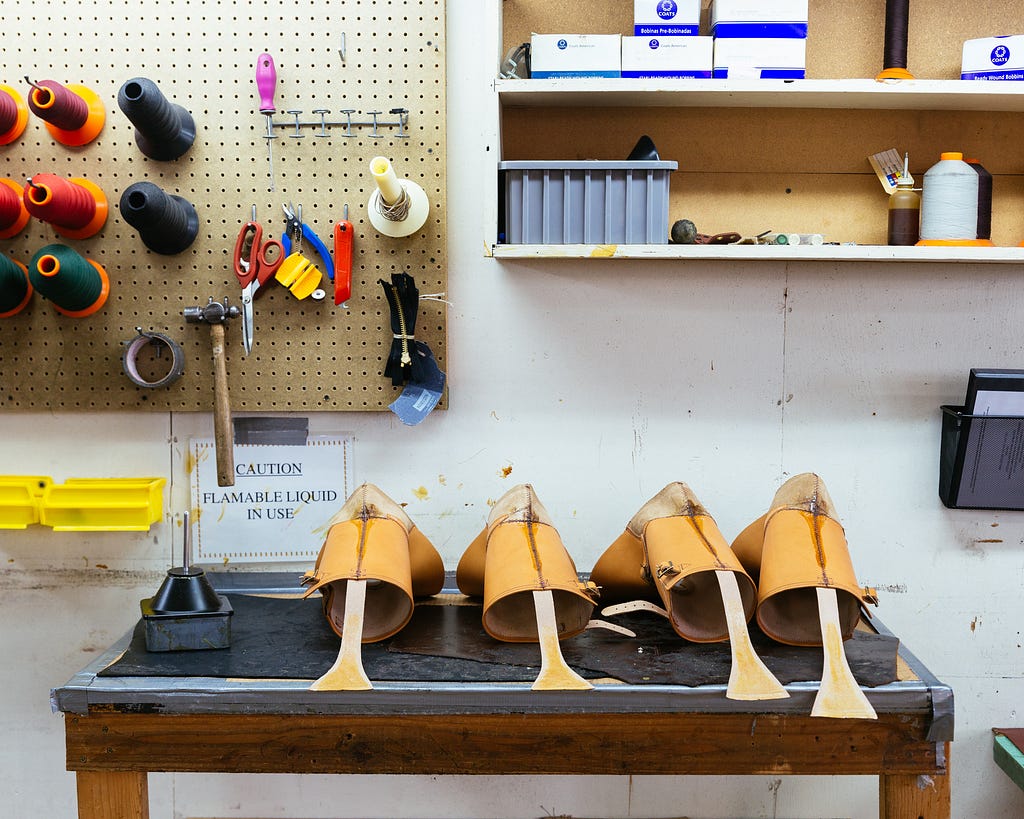
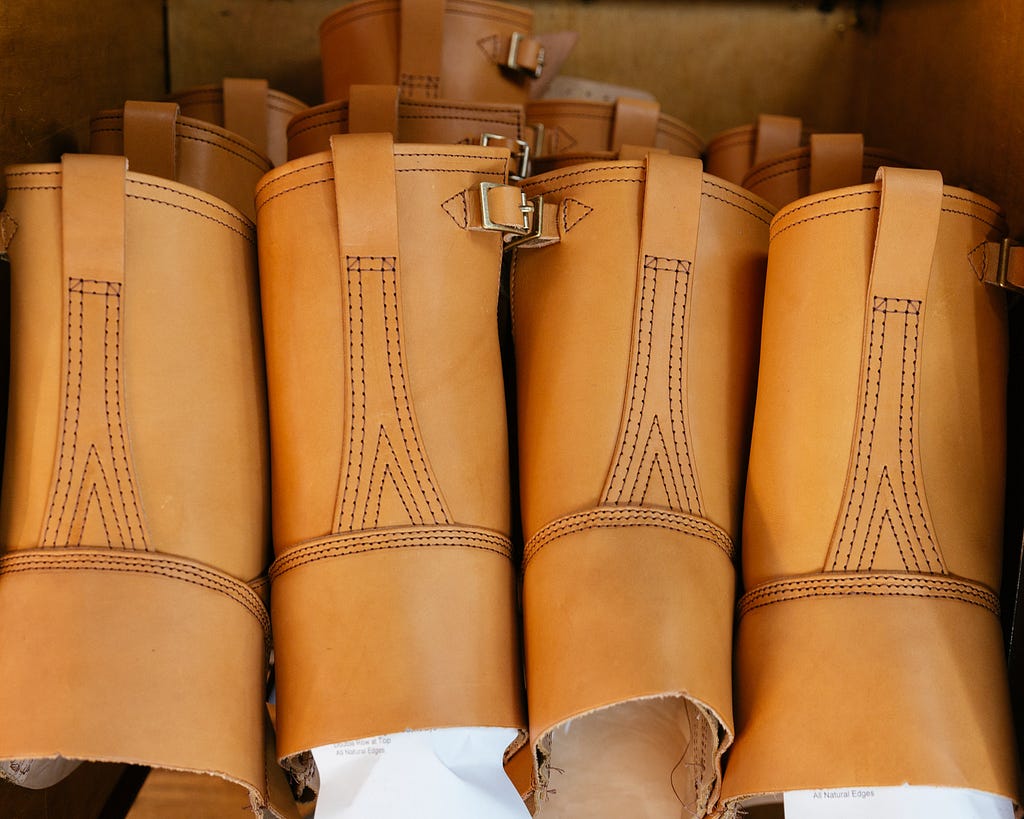
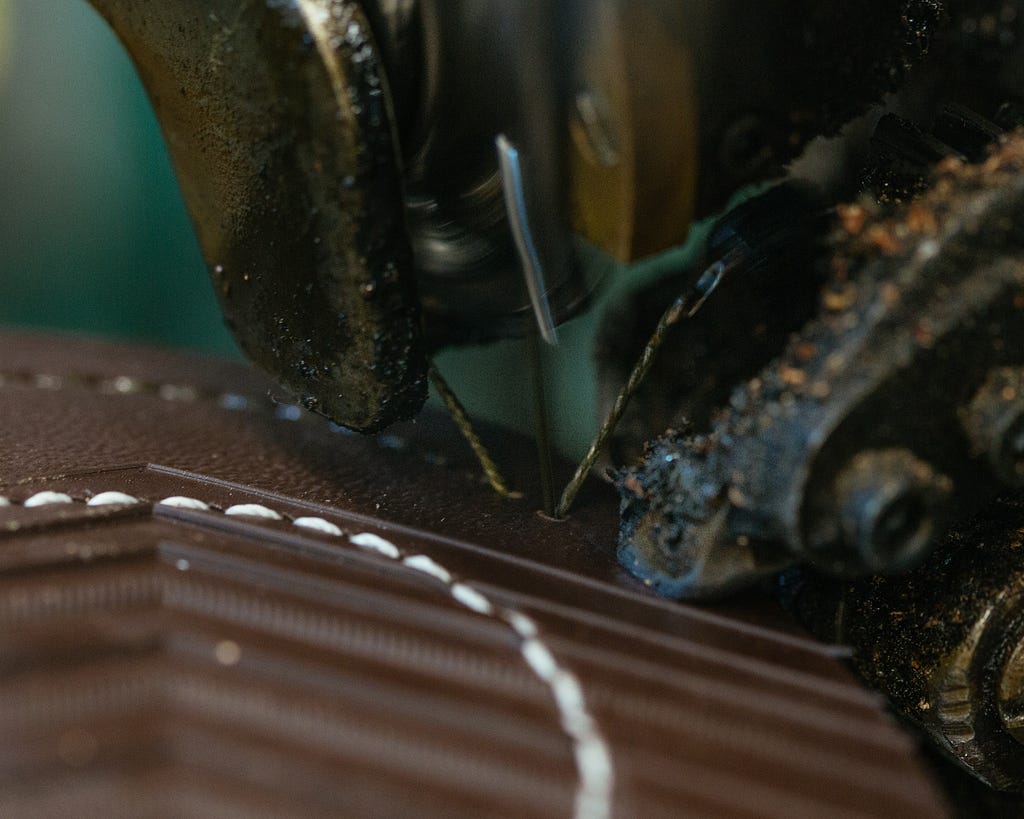
We didn’t make it in time to catch the boots being sewn in full, so we’re starting with the final stages of sewing here. The backstays are being glued down to hold them in place for stitching.
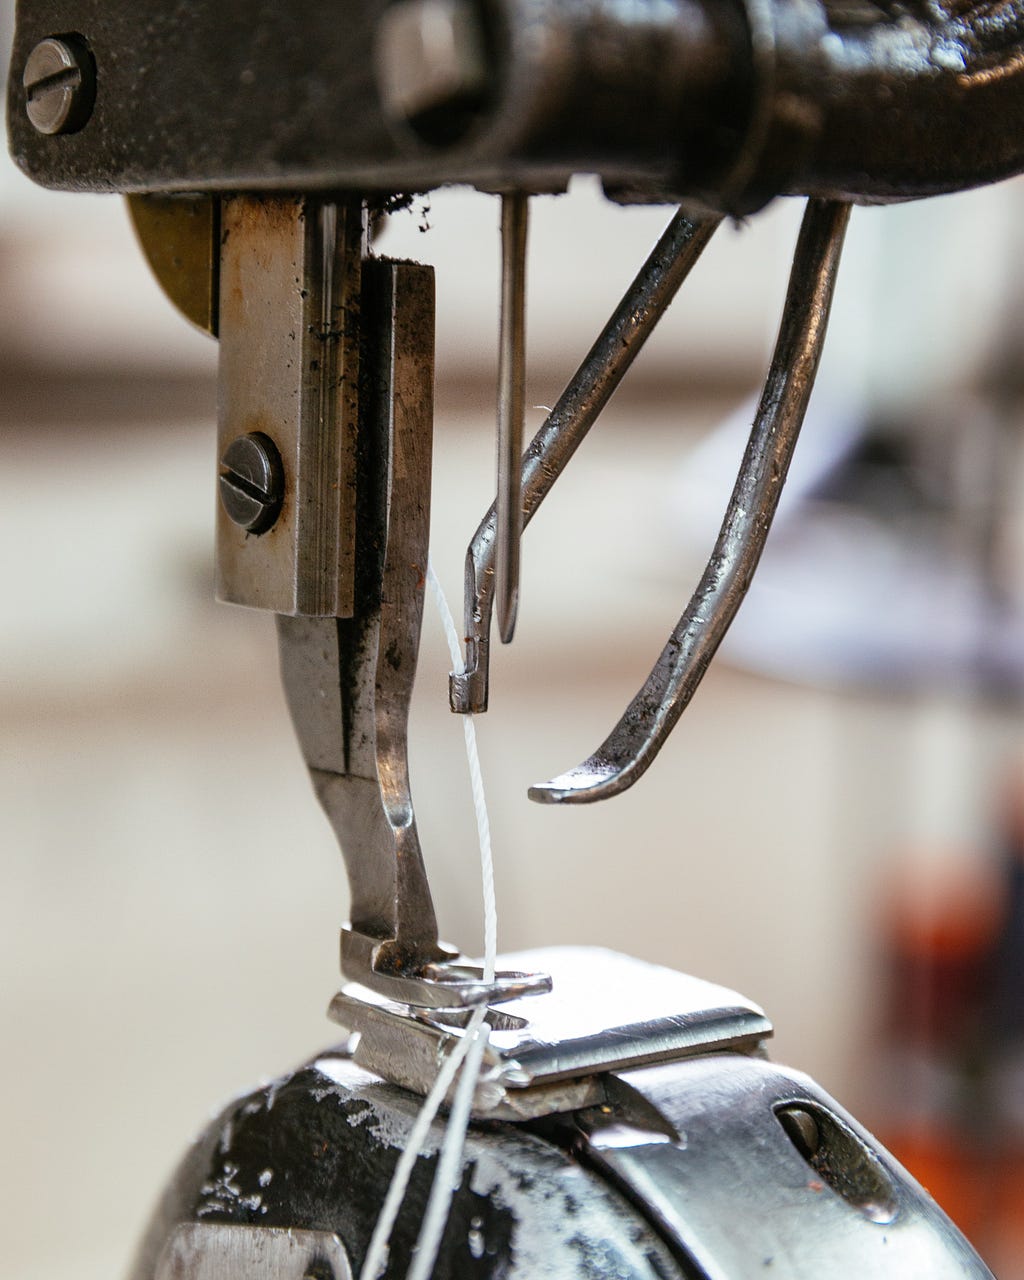
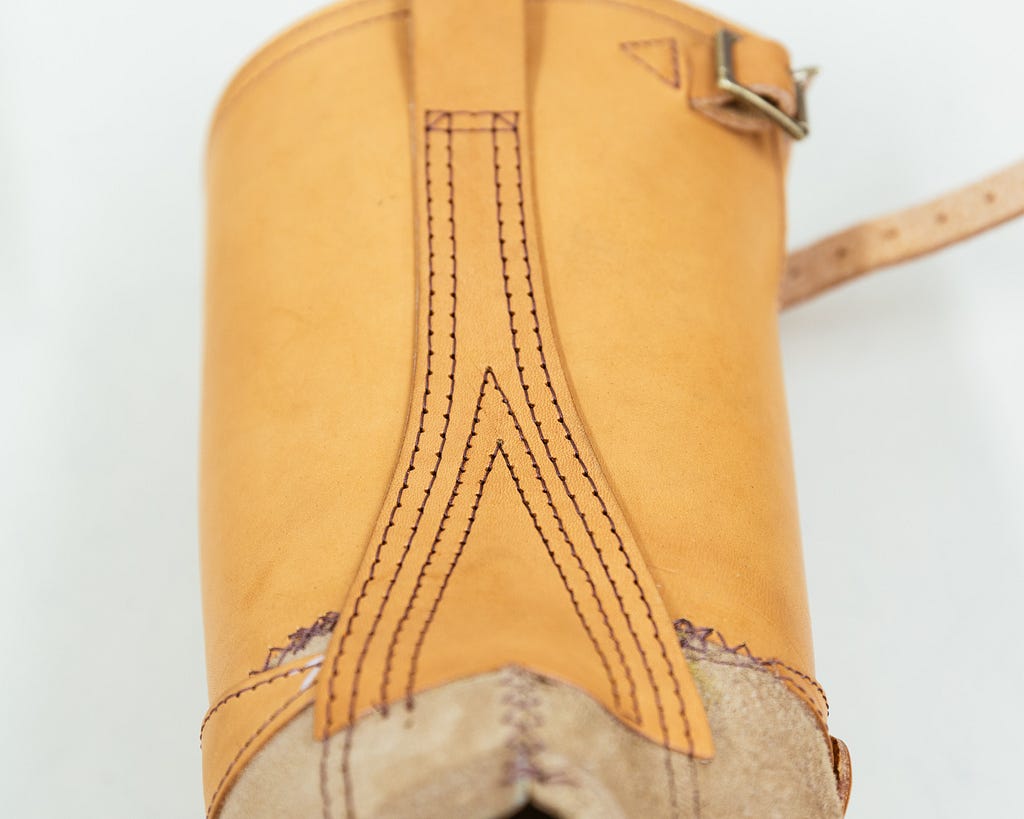
For the Van Cleef, it was essential that we have the vintage style V-stitch on the backstay. Here you can see how it’s done with multiple passes, no double-stitch machines here.

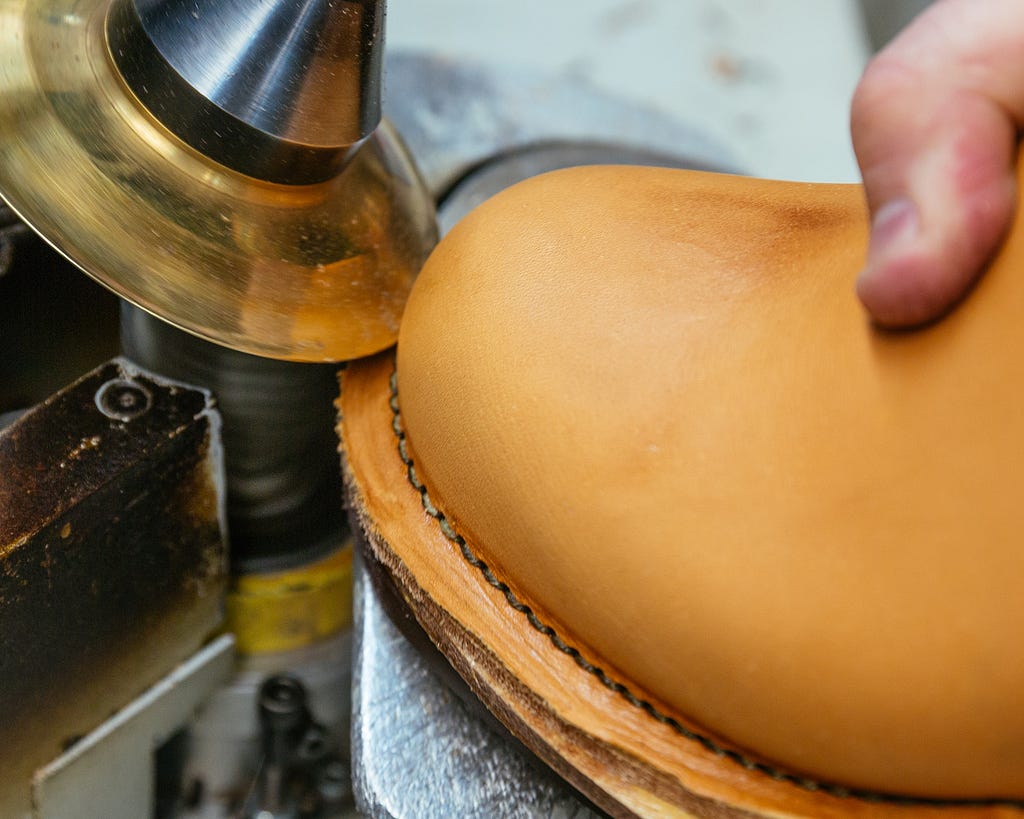
Once the sewing is complete, we move on down the line to making these leather socks into boots. The next step is forming the heel.
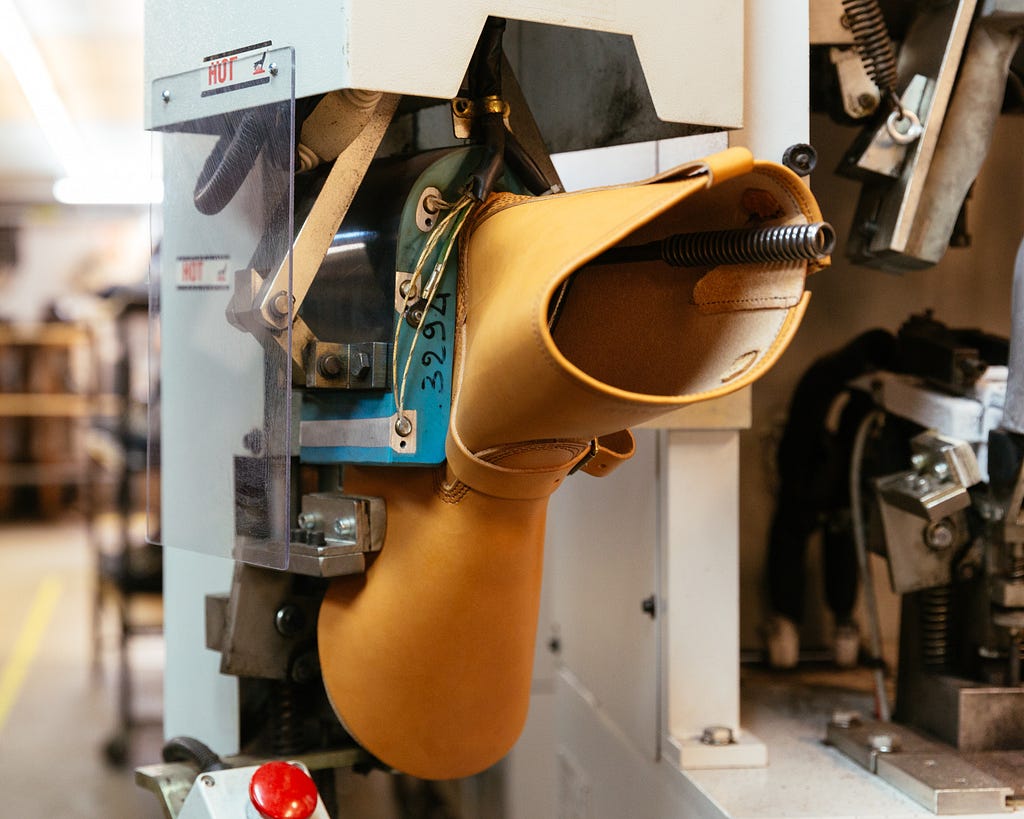
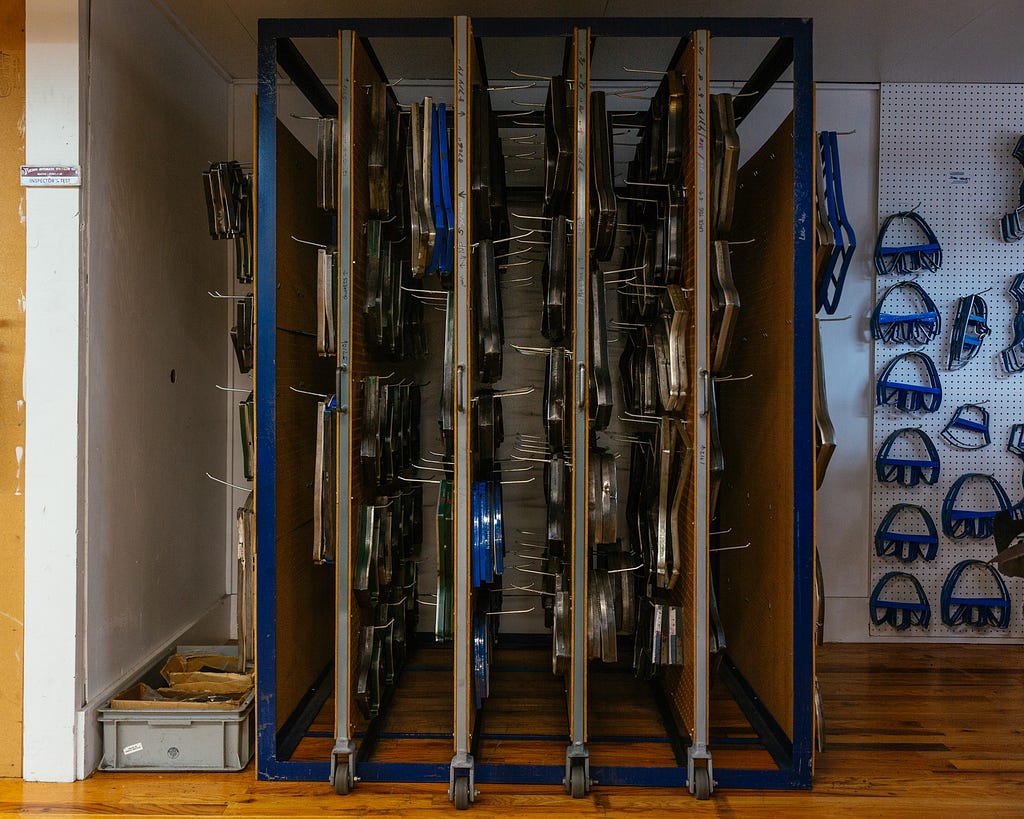
After the heel is shaped, the last goes into the boot to continue the process. The last is the foot-shaped form that every pair of shoes or boots is built around, and the basis for the fit of your footwear.
Wesco has over 500 lasts in sizes 4AAA — 16EEEE.

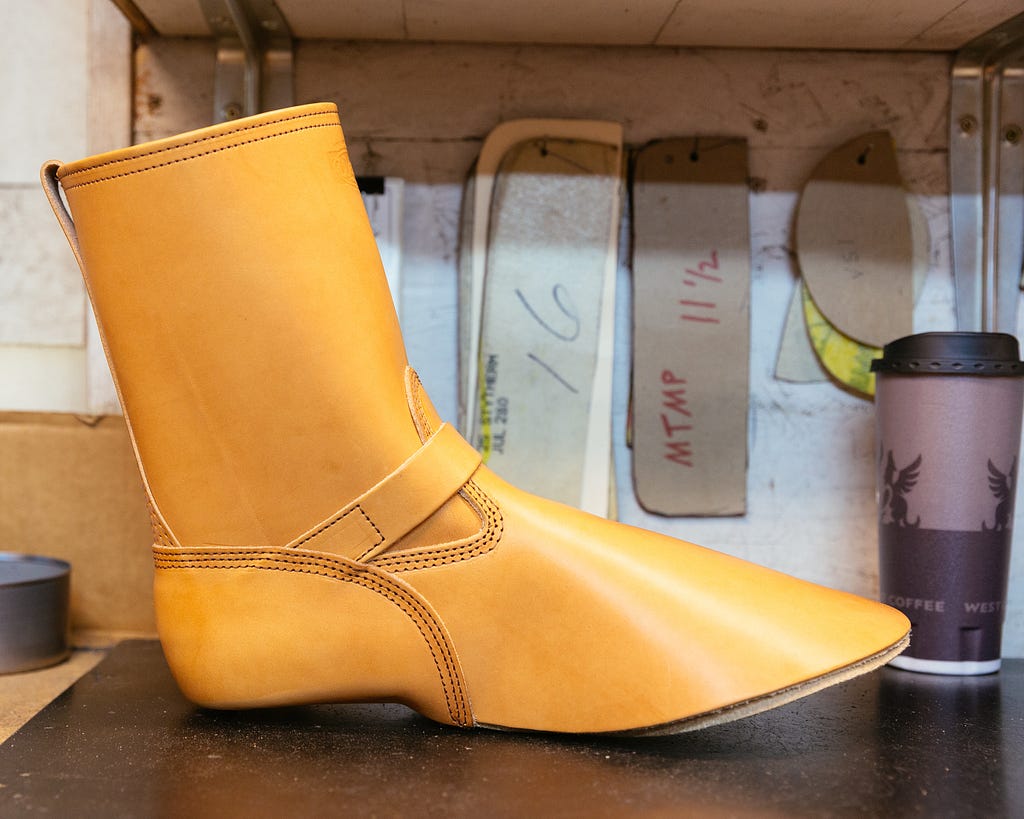
Next, we move onto the toe — these boots have a double vamp, and the inner layer is pulled around the last to shape the toe box by the Vamp Laster.
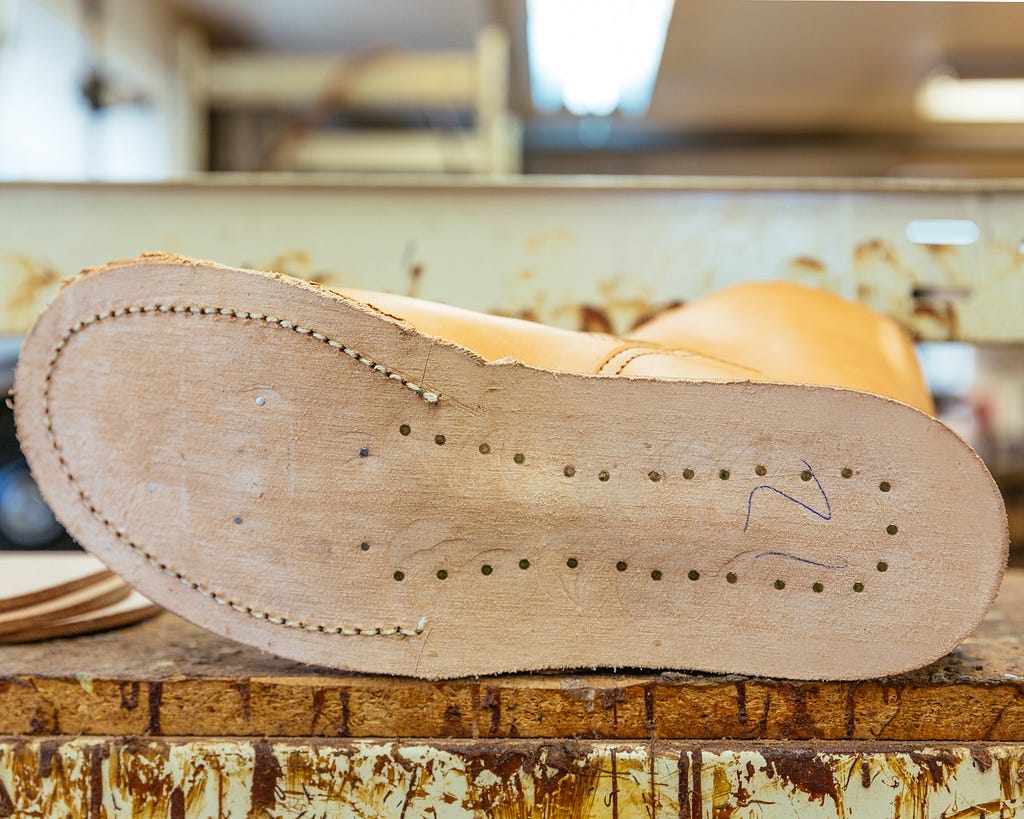
The process started by the machine has to be finished by hand. Lasting pliers are used in order to get the inner vamp layer all the way around the instep, where it’s tacked in place to the insole which you can see below.
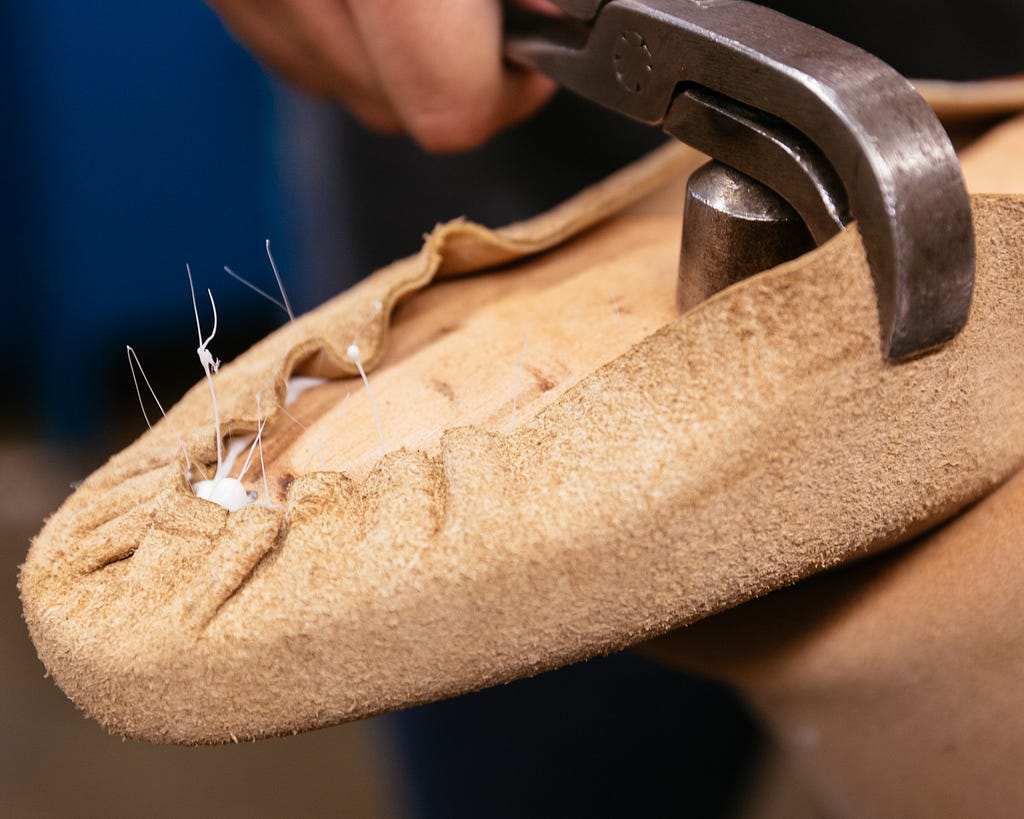
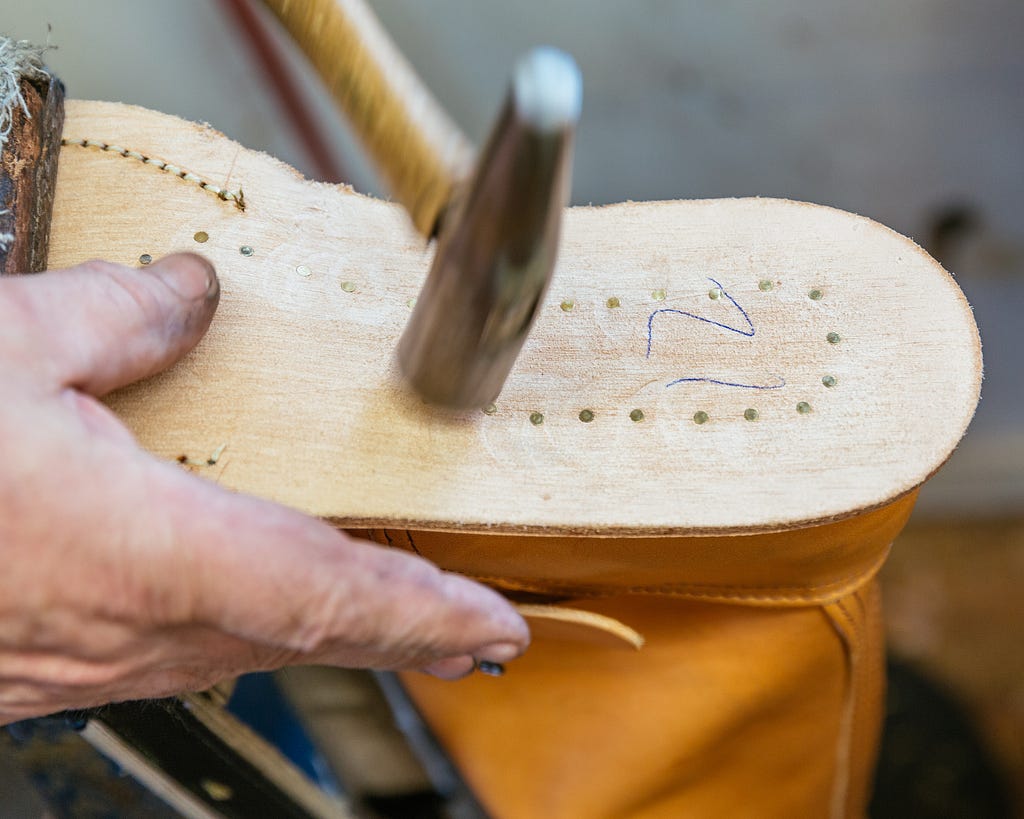
Now that the toe is secure, the heel has to be nailed into place, which requires a different set of pliers and a hammer.

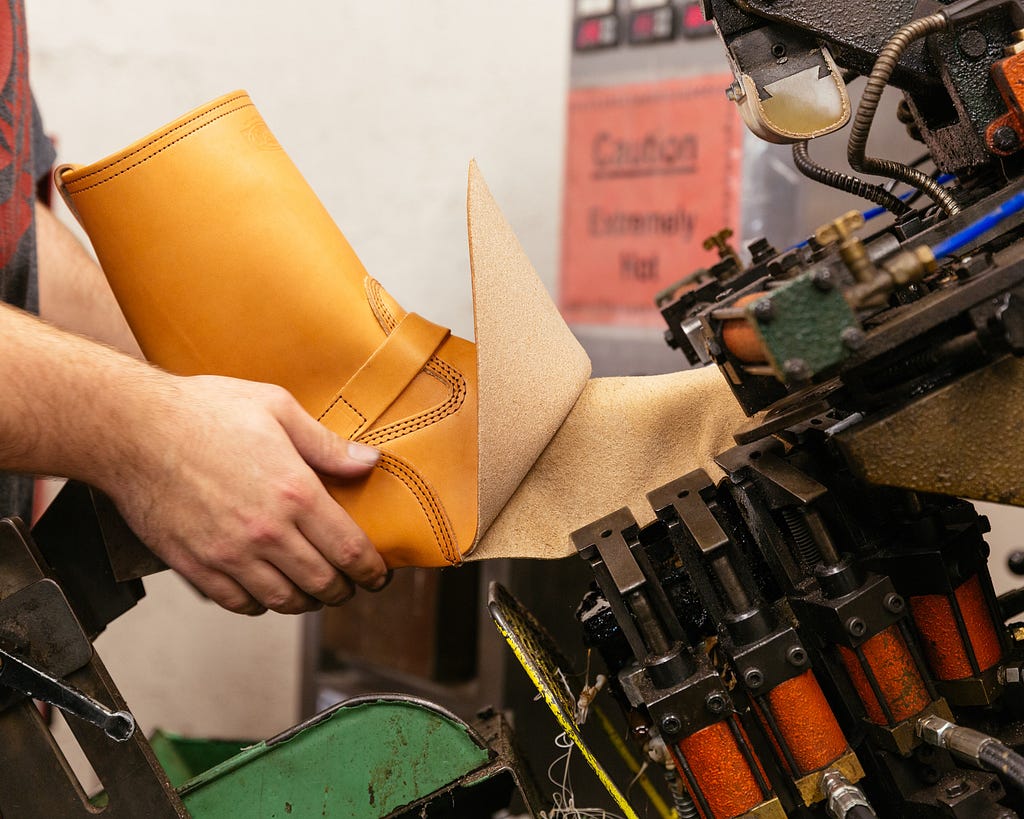
Now that the boot is wrapped around the last, the midsole is applied. You can see the inner layer of the vamp wrapped around the last in the image below.

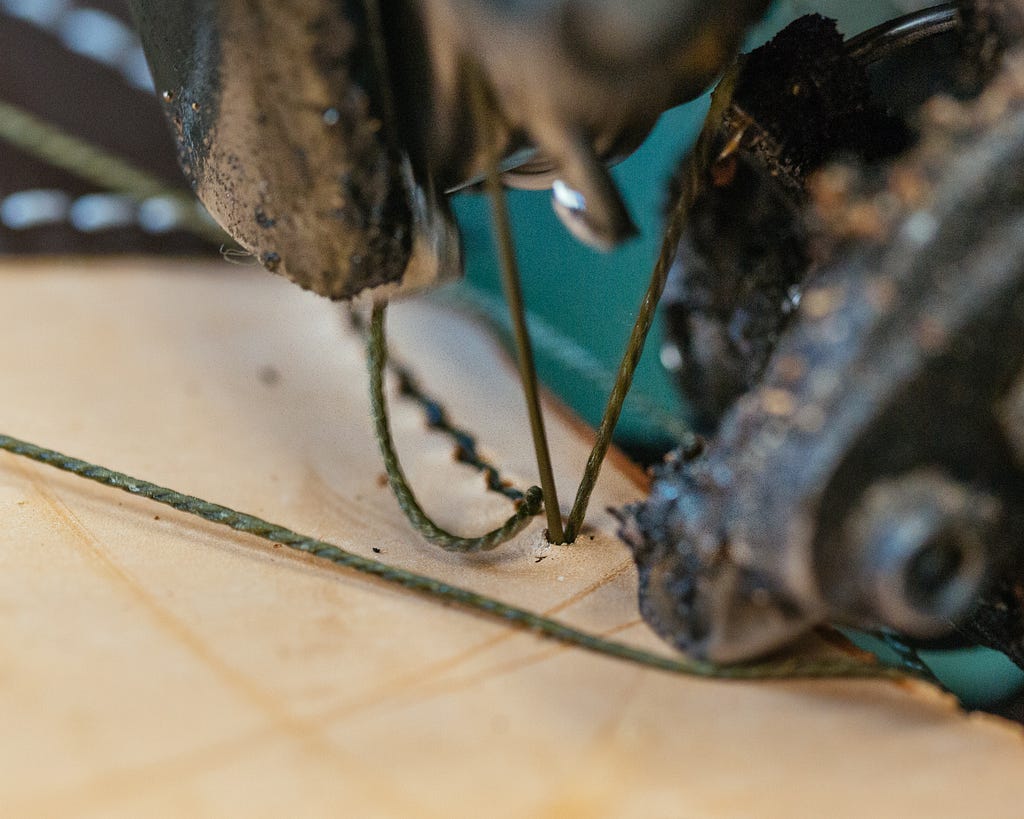
The outer layer of the vamp is wrapped around the last, and the first pass of the stitchdown process happens, holding the upper to the midsole in the front of the boot.
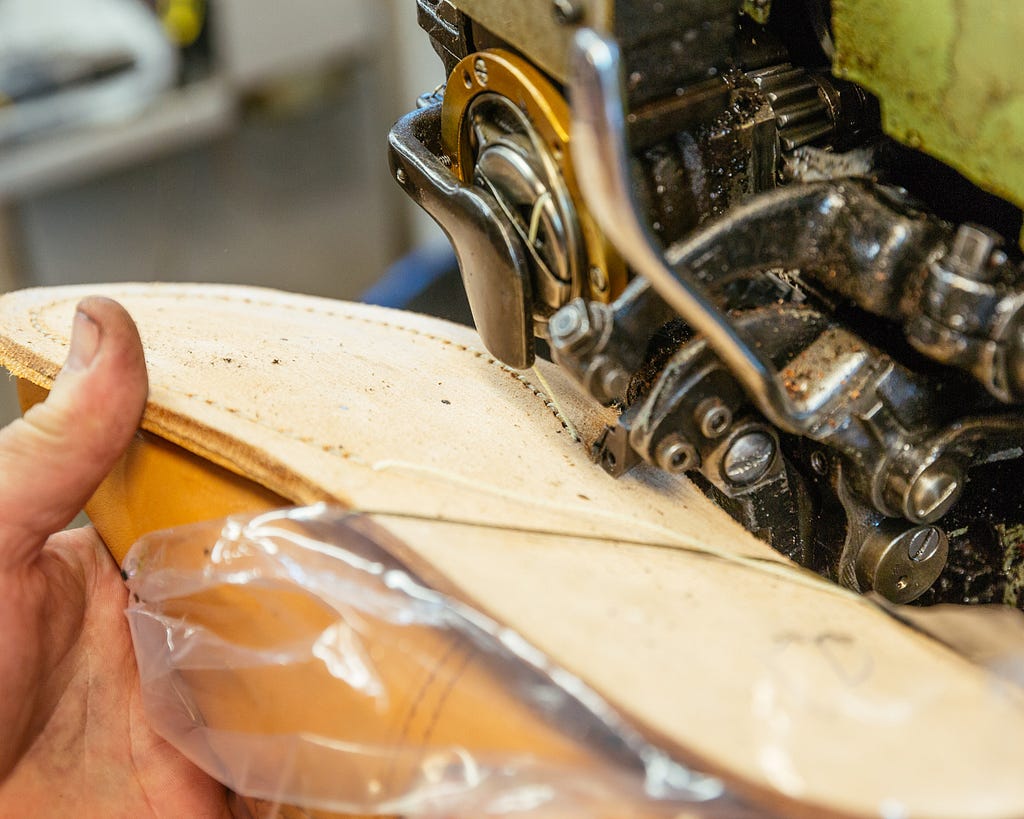
Here’s another shot of the Rapid E machine finishing up the initial stitchdown pass. You can see how the boot is wrapped in plastic to keep the natural veg-tan upper clean, as these old machines fling oil everywhere.
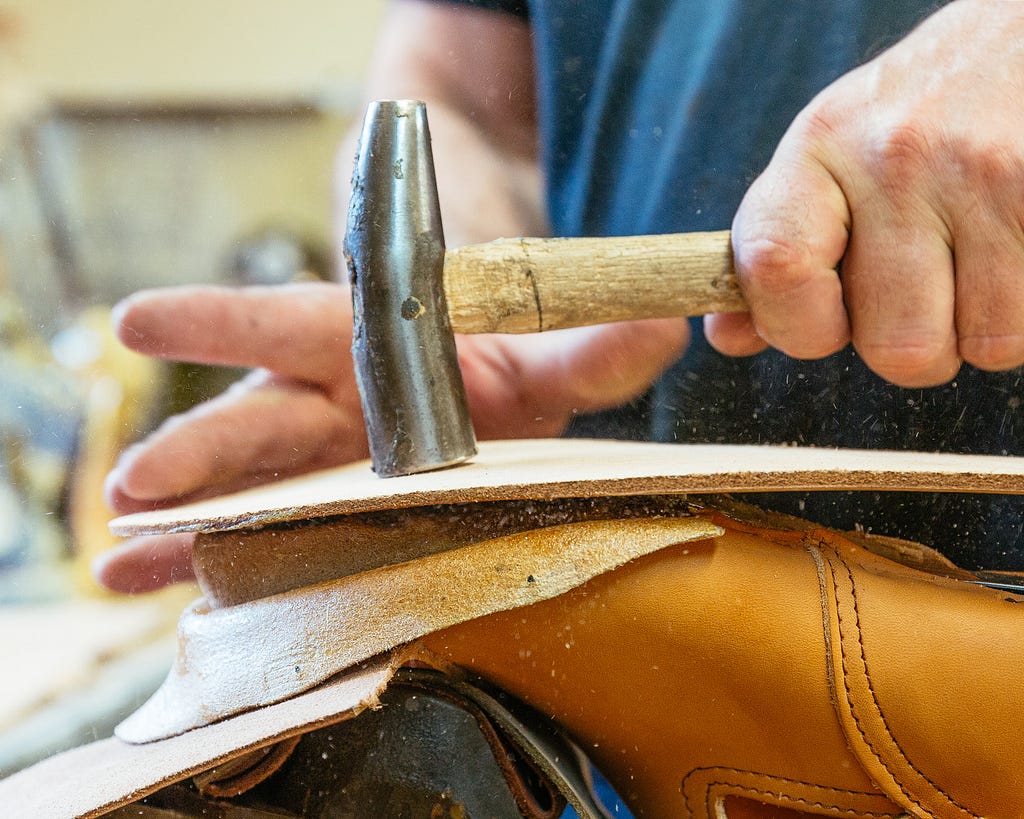
After the front of the boot is stitched down, the heel is nailed in place, holding the midsole to the insole. Brass nails are used, as they don’t corrode with sweat or water.
Now that the midsole is attached, we move onto the outsole area in the factory.
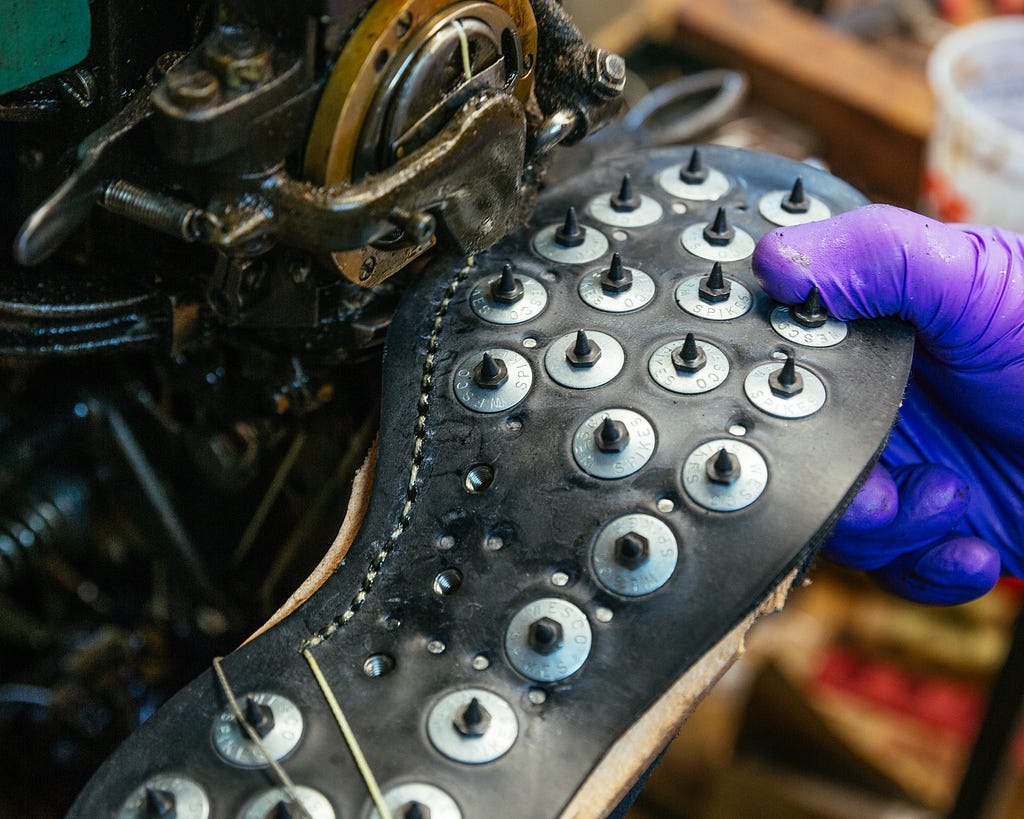
The shot below is of a pair of boots with logger spikes in place, as the machine had just been oiled and was a bit too messy to do a lighter colored boot on. The operator always wears gloves, and all lighter boots are wrapped in plastic.
Here’s a close-up of the Rapid E doing its work on a Vibram 705 half-sole. As you can imagine, this is a very intense sewing machine, able to punch through multiple layers of leather and rubber.
There is an excess of leather around the edges of the boot at this point from the upper vamp layer and the midsole, which needs to be trimmed off using a Sil-Par machine.
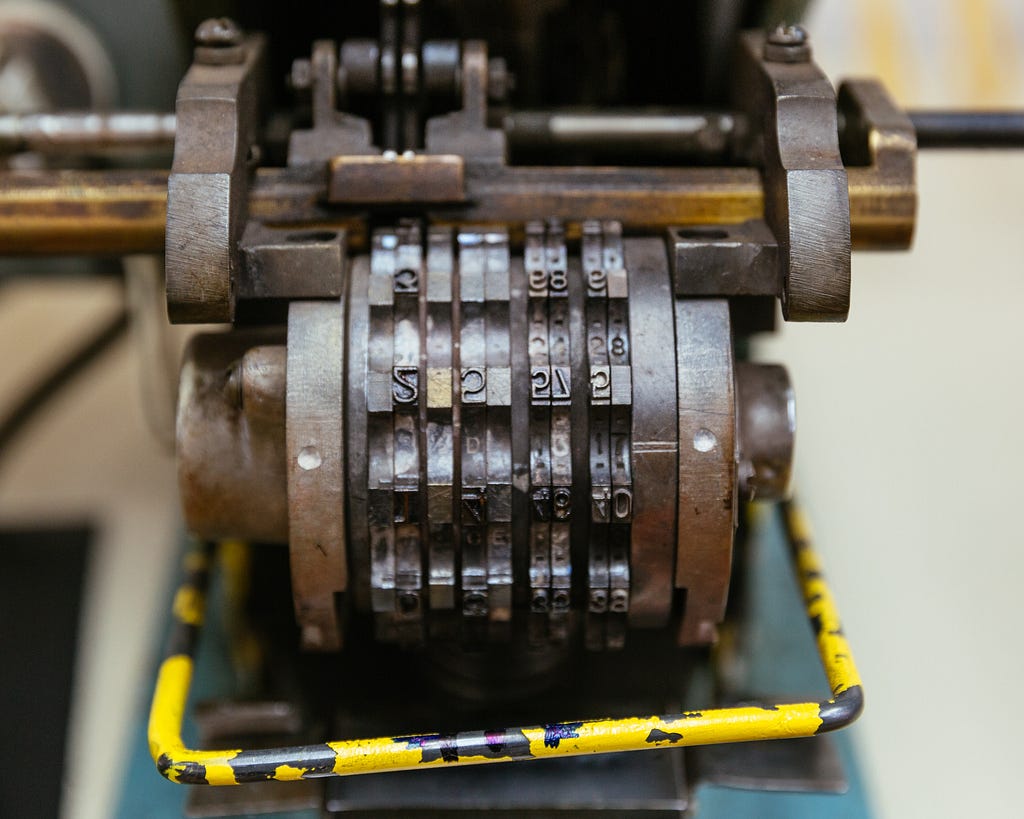
Every pair of Wesco boots get the date of manufacture stamped inside, using the machine pictured below.
This only covered a few of the over 155 steps involved in the production of a pair of Wesco boots. However, the process isn’t done until the boots are on your feet and broken in as your very own.
As you wear them, your feet will sink into the all leather insoles, and the uppers will shape to you, creating a pair that is yours, and only yours. All of the patina and wear you accrue will only further the process.
Share:
An Exclusive Interview with John Lofgren